If you’re looking to replace your door lock or rekey it, the first step is to remove the lock cylinder. This process can seem intimidating, but with the right tools and a bit of patience, it’s a relatively simple task. In this article, we’ll walk you through the steps to remove a door lock cylinder and provide some helpful tips along the way.
How to Remove a Door Lock Cylinder
Step 1: Gather the necessary tools
Before you begin, you’ll need a few tools to get the job done. You’ll need a screwdriver, a pair of pliers, and a cylinder removal tool. The cylinder removal tool is a specialized tool used to remove the cylinder from the door.
Step 2: Remove the doorknob
The first step is to remove the doorknob. To do this, locate the screws on the doorknob plate and remove them with a screwdriver. Once the screws are removed, pull the doorknob off the door.
Step 3: Remove the lockset screws
Next, you’ll need to remove the lockset screws. These screws are located on the plate behind the doorknob. Use a screwdriver to remove the screws and pull the plate off the door.
Step 4: Remove the cylinder retainer clip
Once you’ve removed the lockset screws, you’ll need to remove the cylinder retainer clip. This clip holds the cylinder in place. Use a pair of pliers to remove the clip.
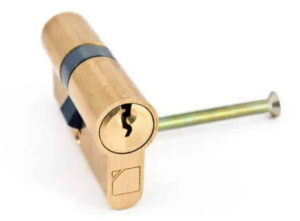
Step 5: Insert the cylinder removal tool
With the clip removed, you can now insert the cylinder removal tool into the cylinder. The tool will fit into a small hole located on the side of the cylinder.
Step 6: Remove the cylinder
With the removal tool in place, turn the tool counterclockwise to release the cylinder. You may need to use a bit of force, but be careful not to damage the cylinder or the door.
Step 7: Inspect the cylinder
Once the cylinder is removed, take a moment to inspect it for any signs of damage or wear. If the cylinder is damaged, you’ll need to replace it before reassembling the lock.
Step 8: Reassemble the lock
With the cylinder removed, you can now reassemble the lock. Simply follow the steps above in reverse order to put the lock back together.
Removing a door lock cylinder may seem daunting, but with the right tools and a bit of patience, it’s a task that can be completed by most homeowners. Just be sure to take your time and follow the steps carefully to avoid damaging the lock or the door. By following this guide, you’ll be able to remove the cylinder and replace it with ease.